Front Porch Construction
Even though we have more work on the back porch before it is completed, we are starting work on the front porch. The reason is we have to acquire more materials for one of the back porch rooms, namely more sheets of OSB to complete the interior walls. Also benches and shelves are still to be constructed. Until we do that, we can work on the front.
One of my hobbies is using transits (also called theodolites) for things like this. They are extremely handy for ensuring the post is not only vertically level, but also in line with the other posts. This little detail means the rest of the construction is square, and everything fits like it should. Yes, we could use a builder’s level, and we do. However, if the post is not exactly straight the entire length, the top may not be in line with the bottom, which would throw the roof line off. Even hand-selecting each piece of lumber is no guarantee the board or post will remain straight! For this effort, the transit I used was the Lietz TM-1A theodolite.
So, for the first phase of construction, we set up sightlines for layout with the transit before we attempt any building. How we did this was measure the exact distance from the house to the outer line for the porch edge, this line laid out from one end of the house to the other. Longer lines are more accurate than short ones. Next, we determine the porch outer corner location. We place a peg in the ground and mark it exactly in line with the marker at the other end of the house. Next, we measure the exact spacing for the other support posts inline with the same marker and also place pegs there. This is where the transit really shines, for laying out square corners! Of course, we could use the old 3-4-5 rule for square corners, but that leaves a lot of room for mistakes. I used that method for the back porch, and ended up about a 1/4 inch off which made the roofline not quite as even as it should have been!
We then move the transit to the first corner post marker, then turn exactly 90 degrees toward the house, where we mark the location against the house for the inside corner. Now, before moving the transit, turn the transit 180 degrees and place a peg inline far away from all possible construction activities. Since construction will destroy the pegs, this step is needed to re-establish the original sightlines. Perform the same step for the other corner post. The other post locations are laid out and marked in the same manner until all locations are marked.
The transit I used for these steps is the Sokkia/Sokkisha/Lietz TM-1 Transit, which reads directly to 1 second of angle. In its day, it was the top-of-the-line transit produced by that company. These theodolites may not be used in today’s world where Total Stations are all the rage, but is still perfectly accurate for any construction project most folks would attempt.
After the holes are dug to the proper depth, the posts are inserted and measured for length. We want the inside posts to be no taller than the roofline, minus the rafter and stringer heights. That way the roofing sheets lie just below the house roofline for proper rain runoff. The holes are a minimum of 18 inches deep to be below the frost line. We wouldn’t want the winter “frost heave” to throw the porch out of level! Most winters don’t freeze that deep, but the possibility is there, so we have to be sure.

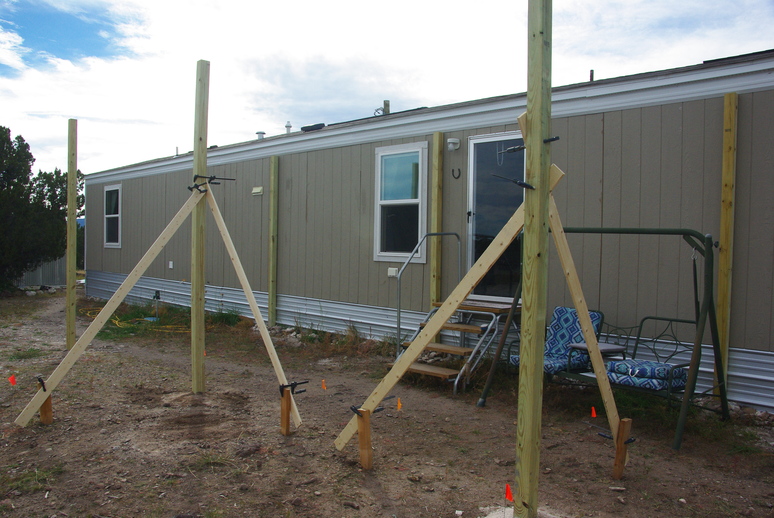
After the post hole is dug and the post is inserted, braces are temporarily clamped in place for fine adjustment for leveling. As we mentioned earlier, we ensure the post is vertical, by setting up the transit on one of the markers outside the construction area, then adjusting the post so the top is actually inline with the bottom. At that point, we can fill the hole with concrete.
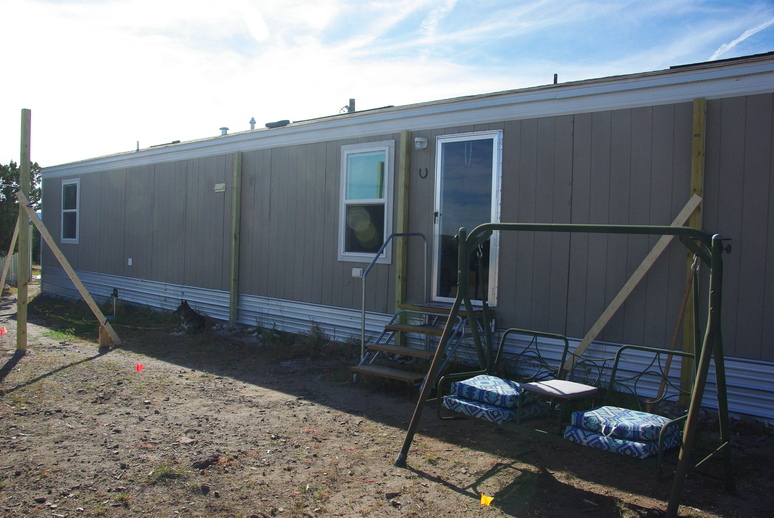
All the posts are in place with the last two braced while the concrete sets. Only the inner posts are cut to the correct height as mentioned above. The outer posts will be cut after we determine the wanted slope for the outer edge. The back porch was cut with the outer posts 11” lower than the inner. For a 12 foot span, that should be enough slope for rain runoff while still placing the bottom of the outer plate comfortably above head height.
After all posts are placed and the concrete allowed to set for at least a day, we are ready to establish a roofline. We will use a tube filled with water tied to the middle of the inner posts. We then adjust the tube height to find the exact level of the outer posts and mark each. Then we cut each outer post for the slope we wish. If we are careful, each outer post will be level with the rest, but 11 inches below the inner post line, if that is the number we choose. One change from the back porch is we intend to bring steps off the side of the porch instead of the front. That would allow the front to be lower if necessary, but also rain would not run off the end onto the steps as it would if the steps were on the front. It also intrudes less into the parking lot.
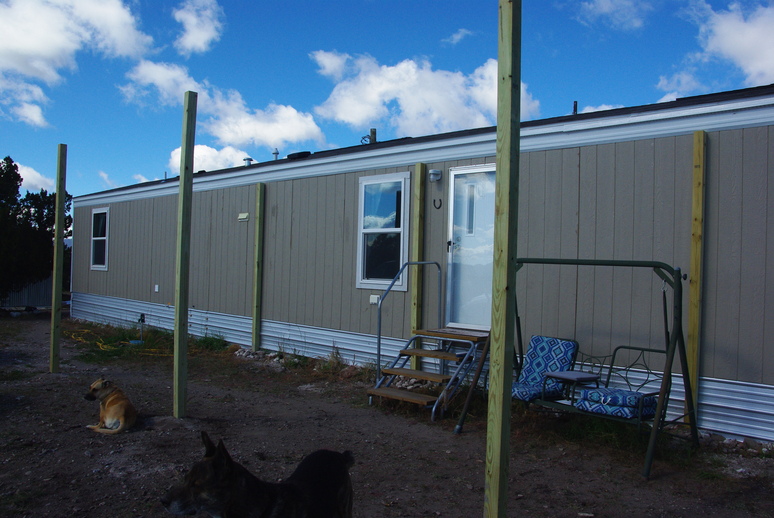
About a half-hour before this picture was taken, a fast-moving rain storm with 46 degree temperatures was giving us a gentle soaking shower. Now the skies are blue with beautiful puffy clouds! What a wonderful show God gives us for enjoyment! Such beautiful scenery!
We will continue the construction progress in another post, so stay tuned and God Bless!