Pellet Stove Project Part 3
Well, now that the inside parts of the pellet stove project (part 1 and part 2) are completed, we can start working on the outside parts. This includes finishing the exterior stove pipe and starting on the small shed for the solar power electronics to power the stove in case commercial power is not available. But first, we have a beautiful sunrise God has given us to enjoy!

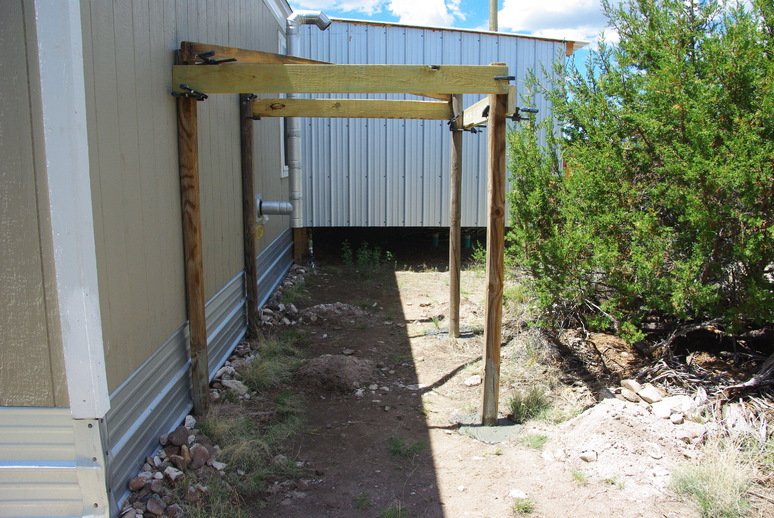
Behind the poles for the shed can be seen the completed full-length stovepipe. The poles are simple decorative timbers set below the frost line of eighteen inches, which gives a roof height of about six and a half feet. Poured concrete anchors them securely in place. Have to love screw clamps for holding boards in place, both as braces and as structural members later. It’s better than having three hands, which would require really strange looking shirts.
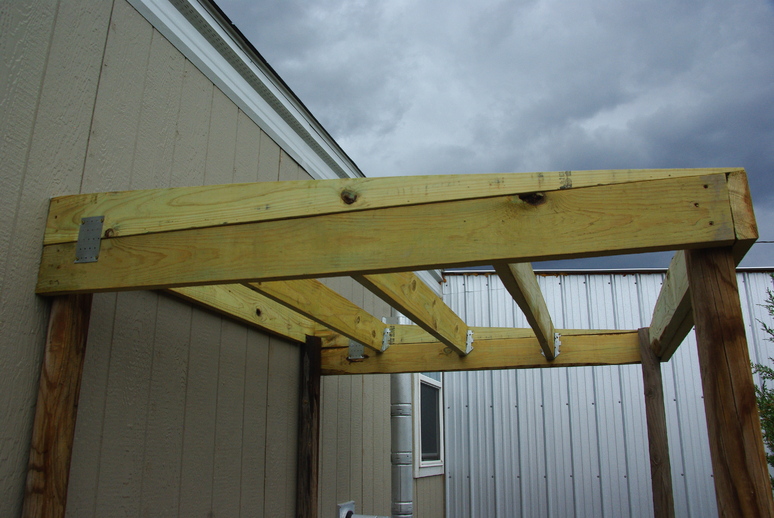
As we intend to mount the solar panels on the roof of the shed, I placed the roof supports every sixteen inches, which will be plenty to support two or three panels. We decided placing the panels on the ground would be much more logistically intensive as they would be prone to damage from foot traffic and animals wishing to snack on the wiring. It would also require digging a ditch to bury the cables and conduit. Plus, the trees would shade the panels until afternoon, as ground placement was somewhat limited. The taper-cut 2” x 6” gives plenty of slope for rain runoff.
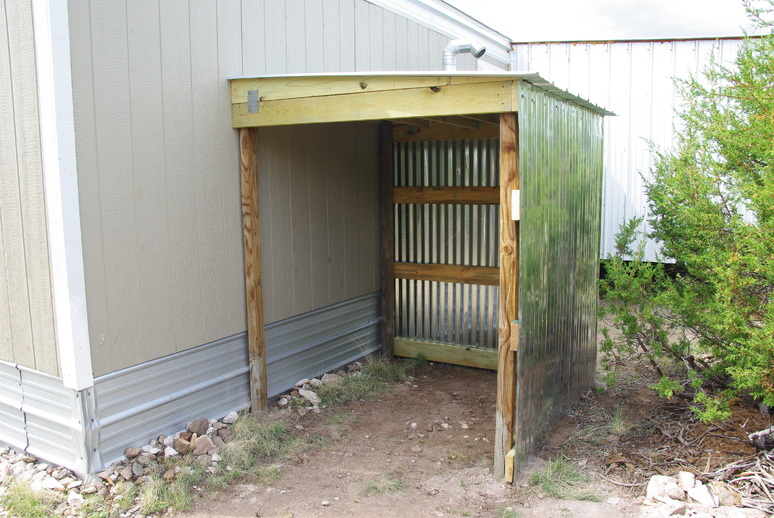
The corrugated roofing comprise the walls and is simple to cut and screw in place. Two sides are complete but we require additional lumber to frame the last wall and door. Then the floor joists and OSB floor will be installed.
A bench will hold the charge controller, battery and AC inverter. So, while we await more supplies, we decided to make a flower box for the porch to plant some vegetables as the larger planter box is currently growing bush beans and some squash.
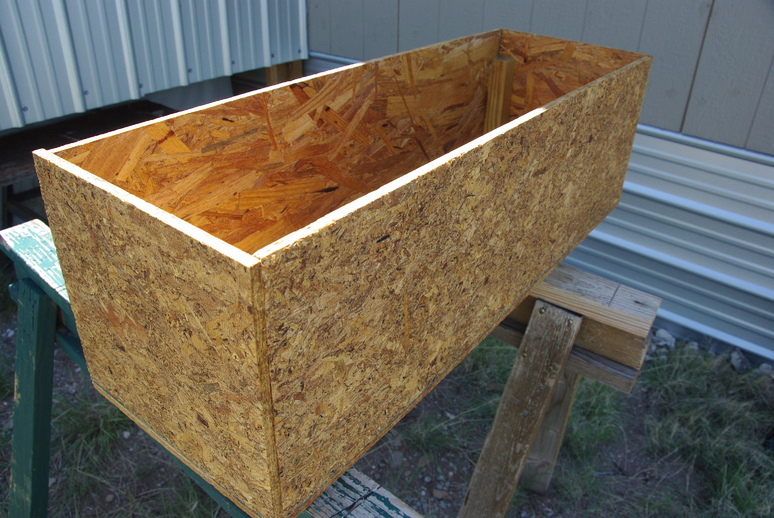
It fits over the top railing of the porch to allow easy access to watering and weeding. The weeding is because the fertilizer we acquired from a neighbor has lots of weed seeds. And we all know weeds grow three times faster than any vegetable or flower!
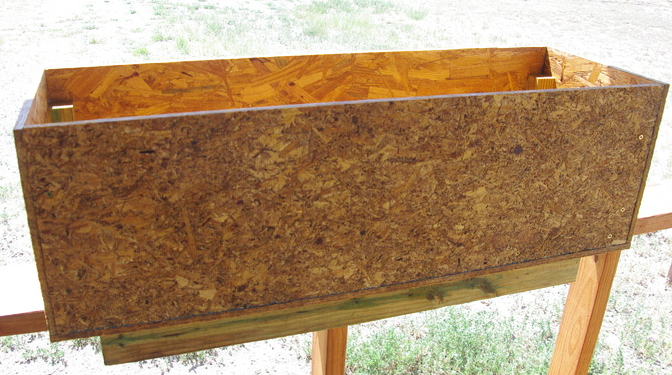
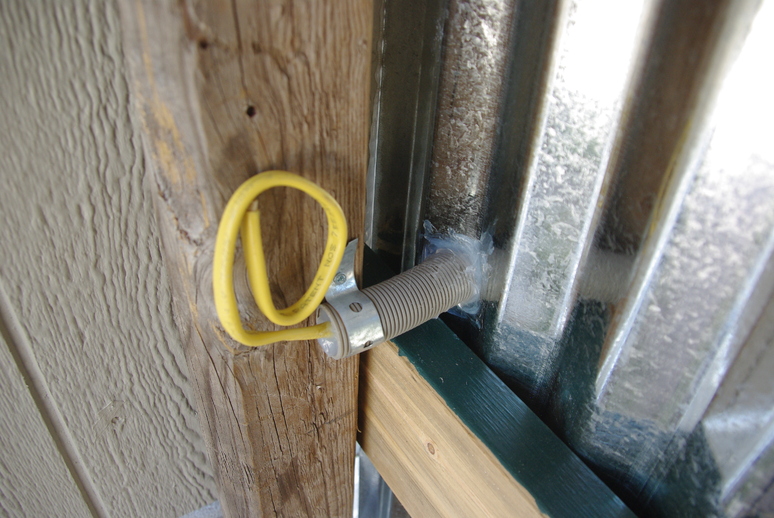
We also painted the bare lumber with Penofin wood preservative and water proofing as the OSB would soon rot without some protection. Anyway, back to the main project. Below, we pass the electrical outlet cable into the solar shed through a conduit sealed with RTV.
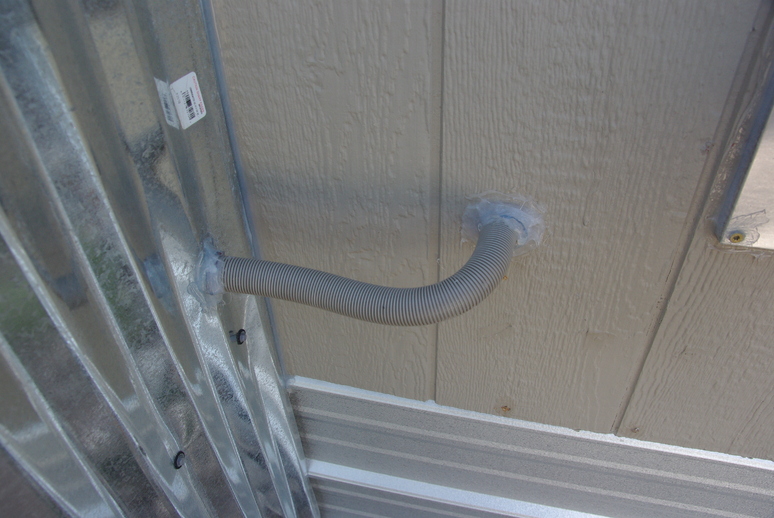
The interior end will connect to the 120 VAC power inverter to supply power to the auger and fans in the pellet stove in case of commercial power failure.
Anyway, this post seems long enough. So I think we will continue on in part 4 to build the other parts, like a floor, bench and The last wall and door.
Have a great day in the Lord Jesus, and until next time, God Bless!