DJI Mini 3 Part 3
Well, this is the third in this mini-series on the DJI Mini 3 drone. The first is here and the second here. I haven’t really explored all the functionality of the Mini 3 as yet, as I have still to explore some of the more esoteric functions, such as still shots and the Quick Shots shooting modes. Those are the Dronie, Rocket, Circle, Helix and Boomerang modes. This is a brief description from the user manual.
- Dronie: The aircraft flies backward and ascends with the camera locked on the subject.
- Rocket: The aircraft ascends with the camera pointing downward.
- Circle: The aircraft circles around the subject.
- Helix: The aircraft ascends and spirals around the subject.
- Boomerang: The aircraft flies around the subject in an oval path, ascending as it flies away from its starting point and descending as it flies back.
One thing to remember for these modes is the Mini 3 has no obstacle avoidance, so the area must be open. Other DJI drones do have some obstacle avoidance, but are significantly more expensive.
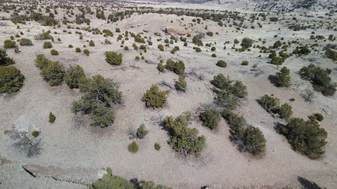
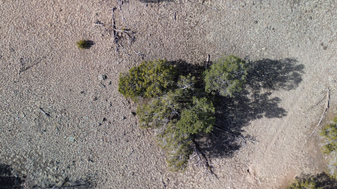
These images don’t show the clarity of the camera at 4k, as I have reduced the file size for quicker loading. The original screen shots were about 4 MB in size; these are about 200 KB, but fuzzy. I suppose you can’t have your cake and eat it too!
Also, as shown below, the Mini 3 has true vertical shot capability, handy for finding things on the ground. This is similar to the Quick shots: Rocket mode mentioned above.
Landing is vastly simplified for those who don’t feel comfortable landing, especially beginners in drone flying. Simply pressing the land icon on the left side of the screen, or pressing the return to home (RTH) button above the screen will cause the drone to return to where the current home position is located. This home location can be updated if the operator is moving from the original take-off point.

Here you can see the homemade landing pad. I made this to check the accuracy of the GPS positioning. Notice the drone is about two feet off from the center. You probably wouldn’t want to take off and attempt to land on a tree stump without actively positioning. However, during landing and RTH, the horizontal position can be adjusted using the joystick if the position is not right, or the terrain is not suitable for landing safely.
Obviously, the manual found here explains all this in greater detail, and much more.
Anyway, that’s all for this post. Now it’s time to get outdoors and Play!
God Bless, and have a great day!