DJI Mini 3 Part 1
Well, this may be the start of another adventure, this time with the new DJI Mini 3 Mini 3 drone. I still need a few accessories to make it truly ready to go, such as a couple of memory cards and a case to store everything.
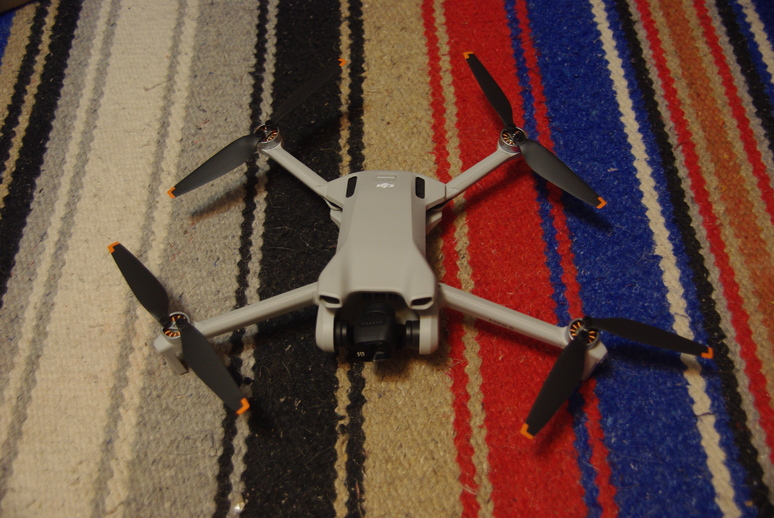
This is the drone itself with the gimbaled camera. Back in the day, getting a camera and gimbal required mortgaging your children to finance. Just joking! Nowadays, things have become cheaper as electronics have advanced, especially in the area of VLSI1 chips.
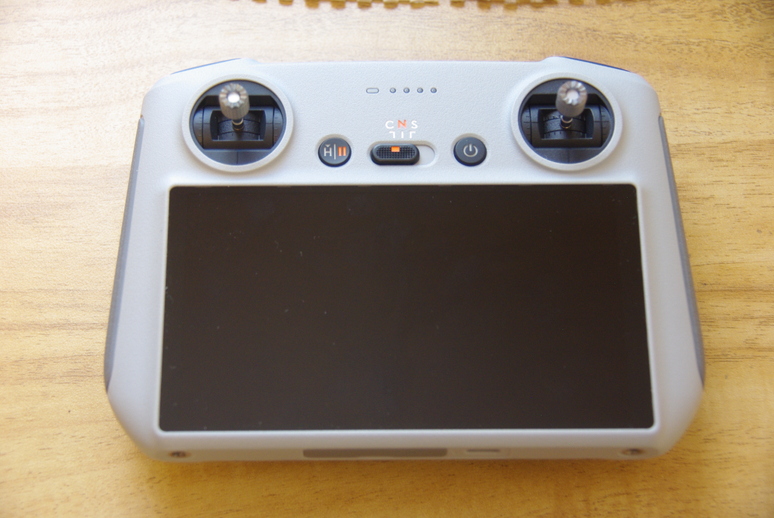
The controller has a built-in display for viewing the drone camera input, not requiring a cell phone for display. I’ve always thought the cell phone display was a kludge, and I think the latency was extended, as the controller had to receive the video from the drone, then send it to the cell phone. With the built in display, that’s no longer required. Not as immersive as FPV2 but close. And, it’s easier to keep eyes on the drone without having to raise goggles to find the drone in the sky.
Of course, I won’t be able to record any video until I install a couple of 128GB MicroSD cards. I will use SanDisk Extreme cards to handle the 4K HDR video data rate for recording.
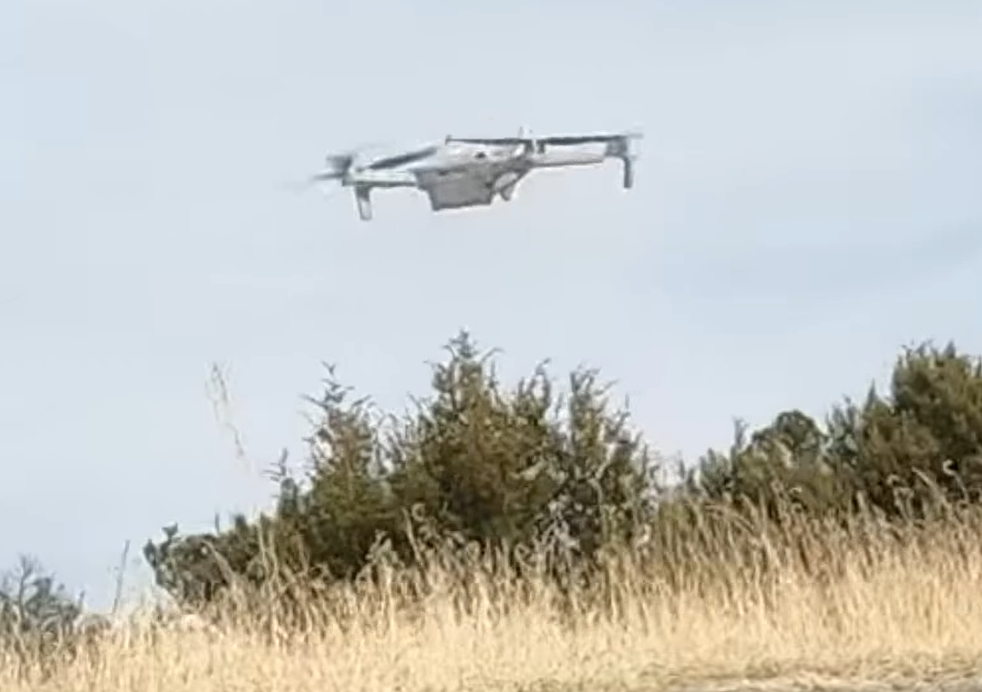
This little bit was recorded with the GoPro 7 Black set to 4K video at 30 fps, edited with Shotcut and exported with WebM_VP9 codec to shorten it a bit, from 112 MB to 12 MB. It’s a bit windy, but not really bad, as the drone had no issue with maintaining location.
As for the original video, it showed much too much empty area around the subject. To reduce the video to a final size of 10 MB, I did the following in Shotcut to crop it to only the area of interest.
- Drag the video into the playlist.
- Double click the video in the playlist, which opens it in the preview pane. Notice the “source” tab is selected instead of the “project” tab.
- Use “filters” tab to add “Crop: Source” and adjust the position bars to clip the video. Do this to the source clip, not the timeline.
- Before adding the clip to the timeline, select the menu item “Settings > Video Mode > Automatic”, even if automatic is already selected. This should resize the project to the resolution of the cropped source video.
- Penultimately3, add to the timeline for further editing, if needed.
- Finally, export the video using WebM VP9 codec. This creates a slightly smaller file than the WebM.
Of course, the zoomed portion is a bit more pixelated, but that’s to be expected. There seems to be issues with Github and Netlify filesizes, even 10 MB, so I changed the video to an image.
And that’s enough this time around. Hopefully, in the near future I will have more on the Mini 3. Until then, God Bless and stay warm. As always, we praise God for supplying our needs and allowing us to live in such a beautiful location, with His creation all around us!