LoRa Packaging
Finally I have arrived on a packaging solution for the LoRa Project started in Parts 1, 2, 3 and 4. A simple solution comprised of the Client (transceiver 1), a power source (battery), a solar charge controller, and a small solar panel to keep the battery topped up. The other end of the system is the Server (transceiver 2), not shown, which will be located elsewhere.
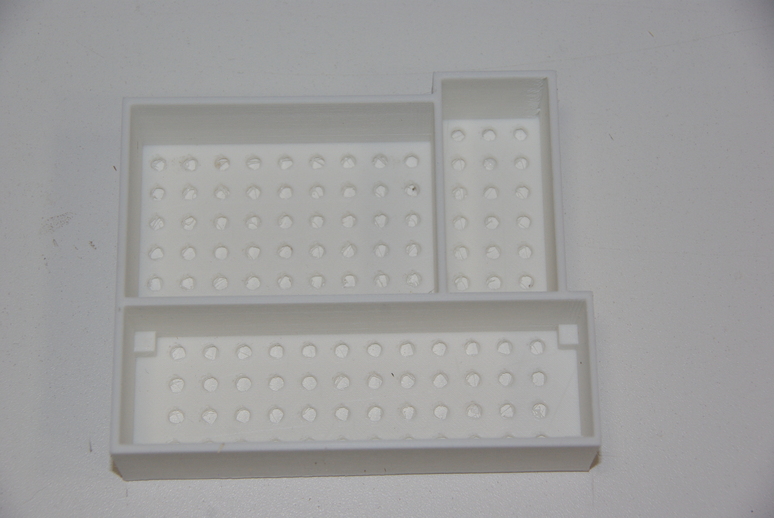
I printed out a small tray using PLA to hold all the parts together. On an earlier project, I used electrical tape to hold everything together, but this seemed like a more elegant solution. Also, the tray bottom is perforated to allow air circulation for the weather sensor, and to drain any moisture that may collect, although I hope that doesn’t happen. But, it helps to prepare for the eventuality. Also note the small blocks, about 5mm high, in the tray electronics section, for an additional safety margin and more air circulation.
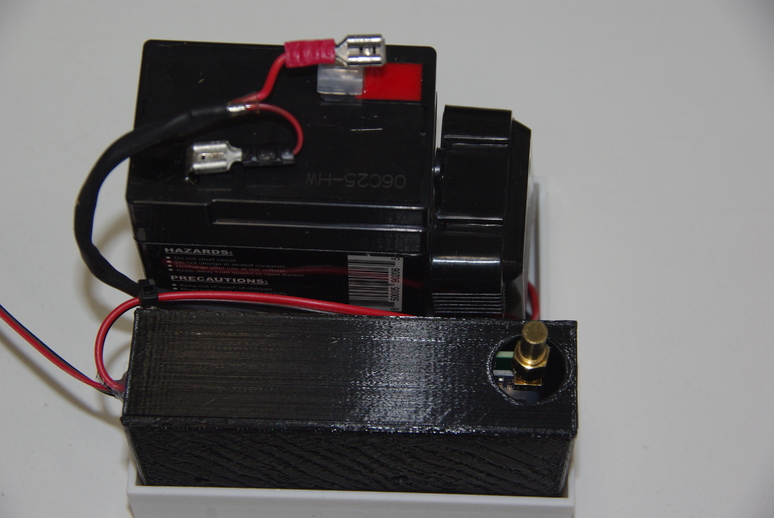
With the three pieces in the tray, it make a fairly compact bundle about 5” x 4”, and only about 5” high. So, I made a small box with scrap OSB sheet pieces to keep it out of the weather.
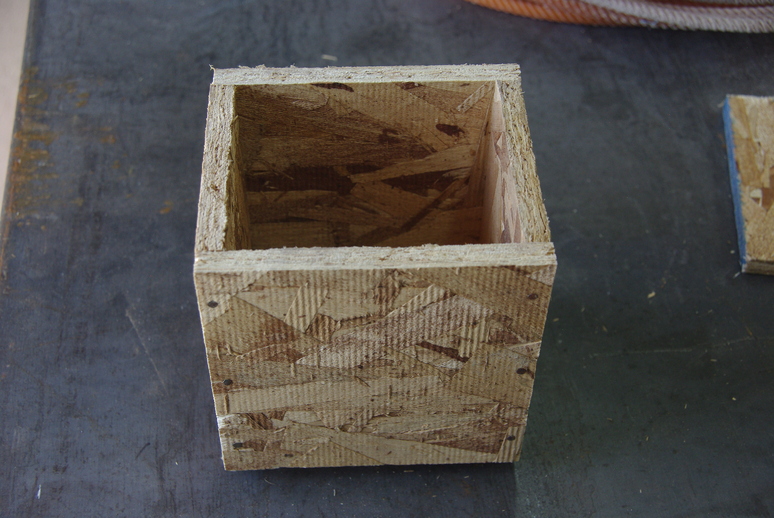
The tray just drops in from the top and the PIR sensor will come out the “front” of the box.
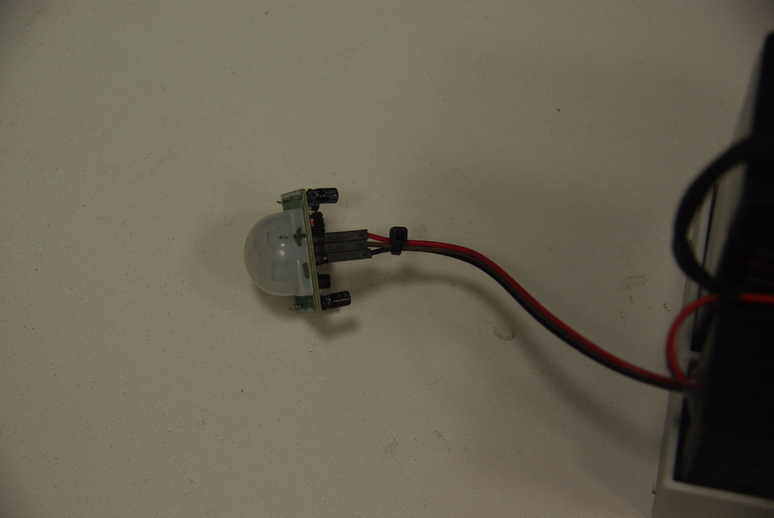
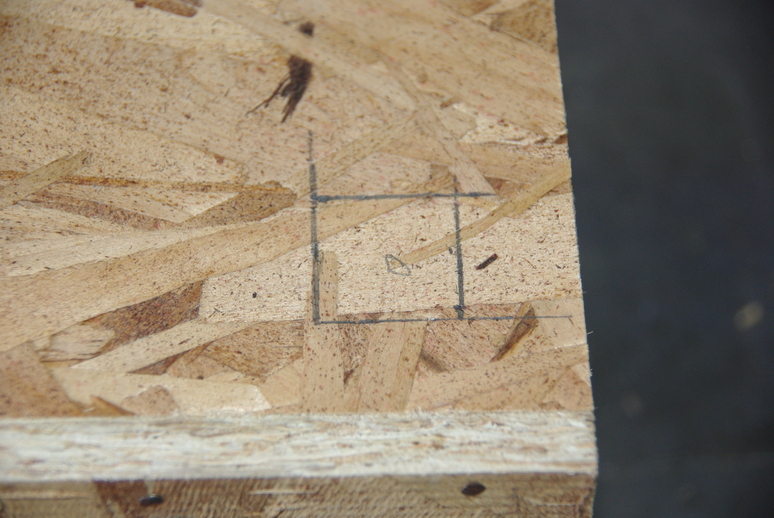
The square marked on the side of the box in the below image shows where I will mount the movement sensor.
The solar panel will mount onto the roof of the box, oriented toward the South at about 34o angle for maximum exposure summer and winter. Other steps will be painting the box, range testing and pole mounting, still to be done.
So, for now, that is the culmination of this project. God Bless you and yours, and may your days be filled with the love of Christ! Bye for now.