RPi 4 Cluster - Part 1
Today I am starting to see if I can document the steps I am taking to put together a Raspberry Pi 4 Cluster. Seems there is lots of information and postings on the Net, some work, some don’t. However, having said that, I ran across a series by Garrett Mills on Medium that I am attempting to use as a baseline (see bottom) as it seems to be covering steps others gloss over. Still, there are a few areas even he seems to have stepped quickly by. I will attempt to document those areas if I can. I am not a programmer, and certainly not an expert on cluster operation or cluster programming, so I will only explain my experiences as I can in the process of trying to get this cluster project going.
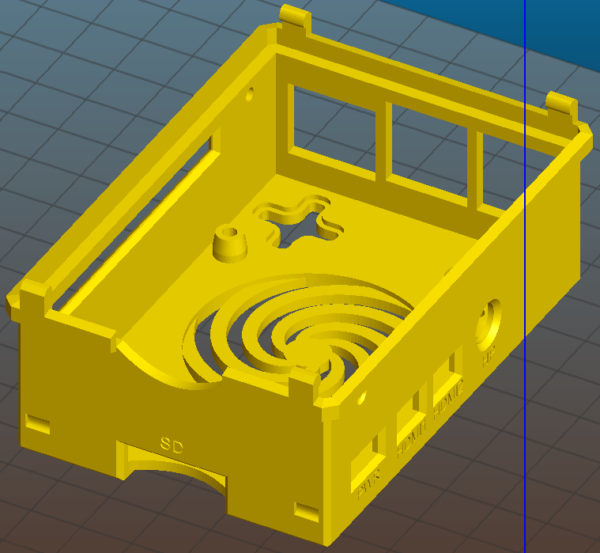
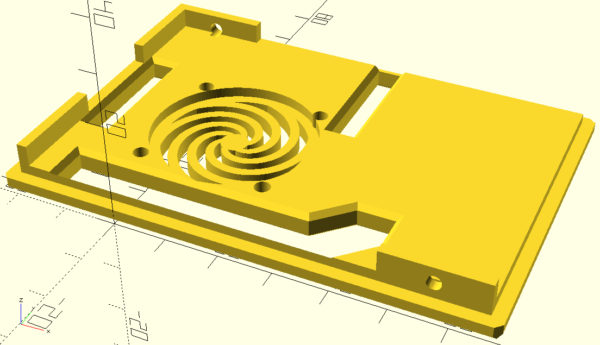
The first hurdle was coming up with a case to contain the four Raspberry Pi 4s that I am using here. Each Pi 4GB SBC has the latest Raspbian Buster (as of 10 November, 2019), and I have set each up as CLI login to keep things cooler (although I am not sure this makes much difference in temperature). There are a LOT of cases for Pi clusters sold, but as I have a 3D printer, I decided to try the homemade variety. I found a Pi 4 Stacking Case by Stephen Jogerst that I decided to use. I printed out four middle sections along with a top and bottom. I had to flip the top section to make it easier to print, thereby eliminating lots of support material. Other than the snap-together tabs, it is working great. The tabs are a bit delicate (with PLA), and require a light touch during assembly.
Here is the top section I flipped. It makes it much easier to print. Perhaps not as smooth on the top when printed this way, but much faster.
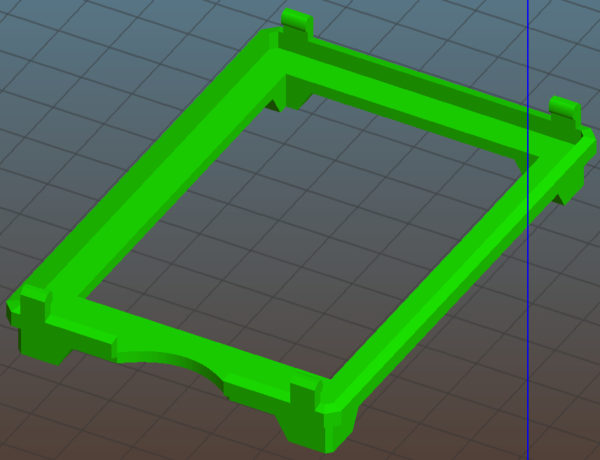
The base piece allows some air flow from the bottom, although because the middle sections fit snugly to each board, there is little space for air to pass from one section to another. However, running each node without a graphic desktop should help. The master node has a fan, as the top has provisions for mounting a fan. Fans are available from many sources. I got several from pishop.us and mounted one at the top of the stack.
The screws that come with the fan are not long enough to go all the way through the case top, but the mounting holes are snug enough that threading each screw into its hole works fine.
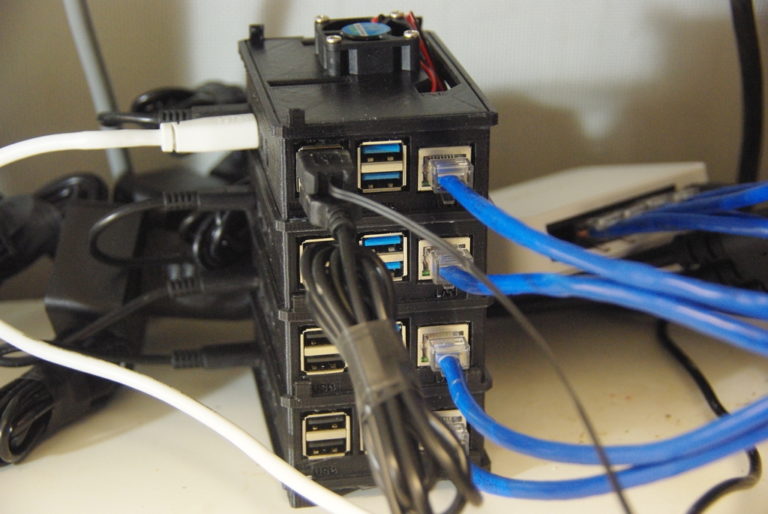
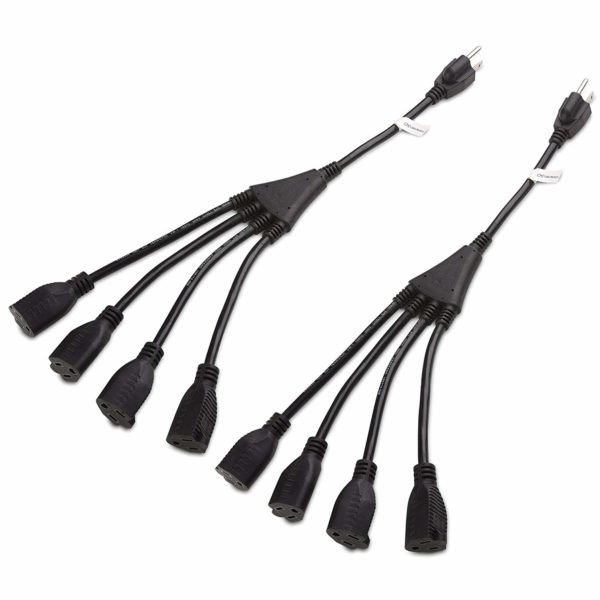
Above is the assembled stack with the master node at the top. Lots of power plugs/wall warts to deal with, so I had to get a multi-connecter that would have room for the wall wart body. Very few power strips allow this type of operation, and those that do are very expensive. Trying to keep things low-budget, I ran across this Power Splitter Cord from Amazon which allows the wall warts plenty of room and work into a switched power strip. Also, as it comes in a two-pack I can plug in everything and still have room for expansion.
Using an unmanaged Ethernet switch for communication allow all the nodes to talk. I made up short (~12”) cat-6 cables for connection. It is way cheaper to make up patch cables than try to find the really short ones I needed here.
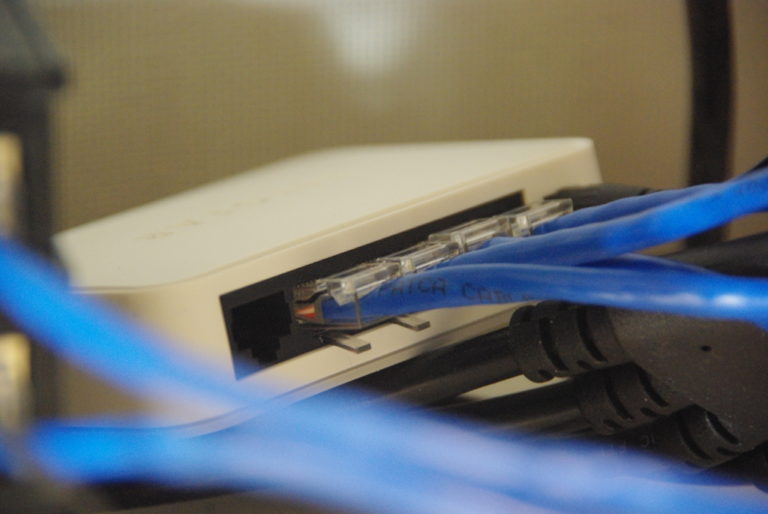
There is no need for a router, unless one wants to communicate with the outside world. This cluster is isolated so needs no outside connections. However, for software updates and package installation, each Pi 4 comes with a built-in WiFi, so no problems there. I can log into each node, update the software, and I am done! I have setup the cluster so I don’t have to provide a password for each node, only the master, which had the usual connections: keyboard, mouse, and NFS partition (more on this later).
Next part will get into more detail on software setup for each node, and some of the issues I ran into by using no router. Stay tuned!
For your reference, Garrett’s Reference I am using as a baseline is listed here: Part 1: The Basics; Part II: Some Simple Jobs; Part III: OpenMPI, Python, and Parallel Jobs.