Pellet Stove Project Part 1
Given that redundancy is always a good thing, we are considering the idea of installing a pellet stove in our home as a backup heat source, if the commercial electricity is not available, for some reason.
A wood stove provides nice dry heat, lots of ash, and creosote deposited into the chimney. That’s not generally considered a good thing!
Enter a wood pellet stove. “What’s the difference?” you ask. Well, it still burns wood. However, the wood is (usually) processed from waste wood like sawdust, scrap wood or old pallets, for example, then formed into small pellets that look a bit like chicken feed. The pellets formed are much drier than a stick of cut wood, and contains less moisture, bark or dust. All this is good from a maintenance viewpoint.
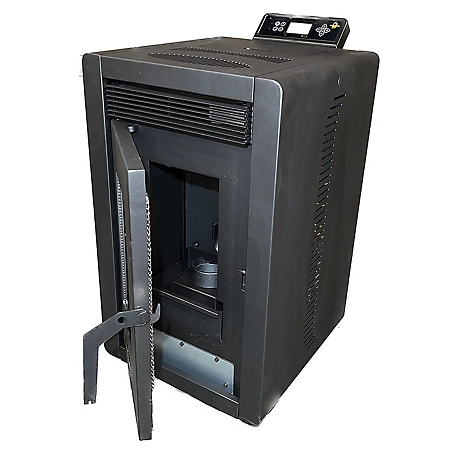
Our heating requirements are small, so we decided to investigate the ComfortBilt HP40 pellet stove. It advertises a room heating capacity of 800 to 1200 square feet, with a rating of 13000 to 26000 BTU/hr.1 This would not be our primary source of heat, just a backup to our regular furnace.
For our needs, we would want a 4” stove pipe vented through the outside wall. Also we want fresh air input for the stove, about a 2” intake pipe.
One really interesting observation we noticed from reading the owner’s manual, is nowhere within were the actual dimensions of the stove. That seems a rather large oversight, as that sort of information would be really handy during installation. However, one site we investigated, Tractor Supply, did list the dimensions of 17 W x 30 H x 21 D.
In any case, before we pursued that avenue, we had to determine the how, where and why of installing something like that. So, dusting off my trusty OpenSCAD program to see what I could come up with, I threw together this possible setup.
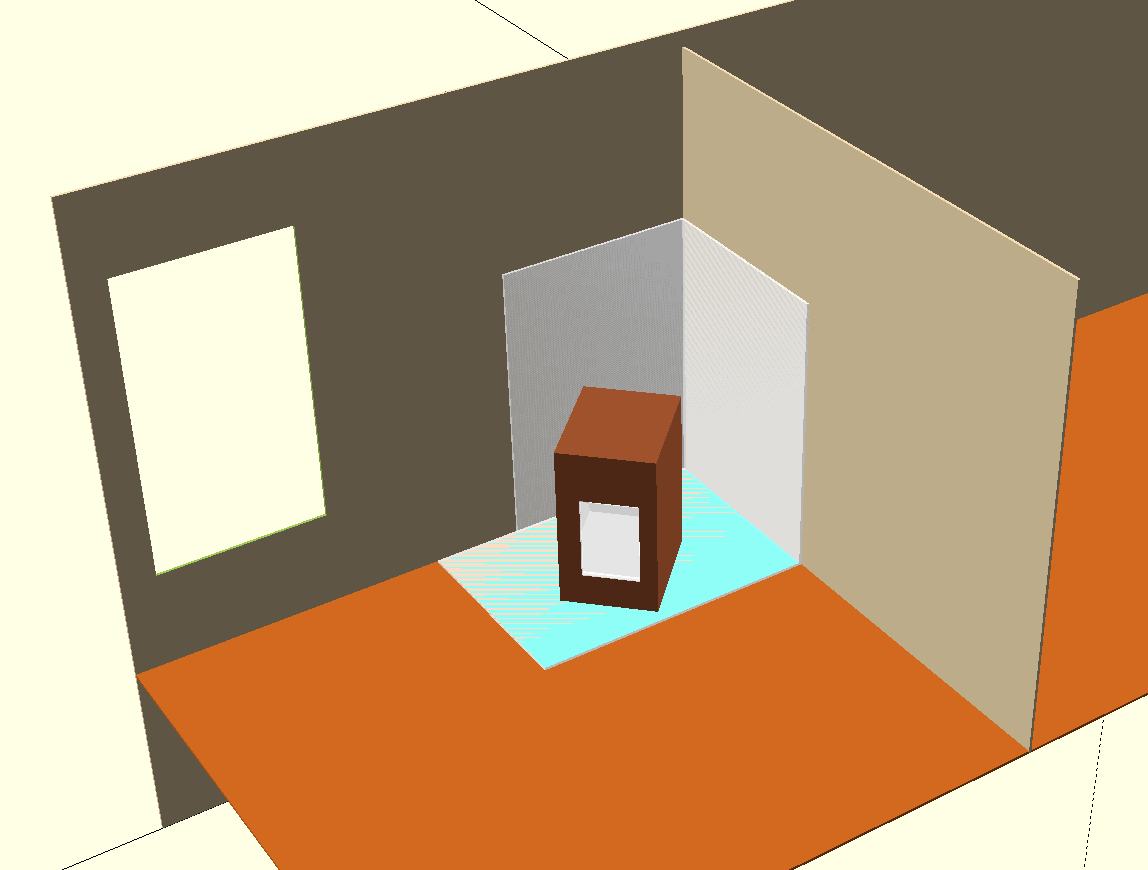
This would be in a corner of the main room, where there would be space for possible installation, and allow venting to the outside through a wall, as we really wouldn’t wish to go through the roof. Notice below where the stove outlet and inlet pipes pass through an exterior wall to the outside.

The manual gives some useful hints or requirements for efficient operation. One is that the stove draws better if there is at least 4’ of vertical pipe outside. Also required would be a TEE in the stove pipe for clean out.
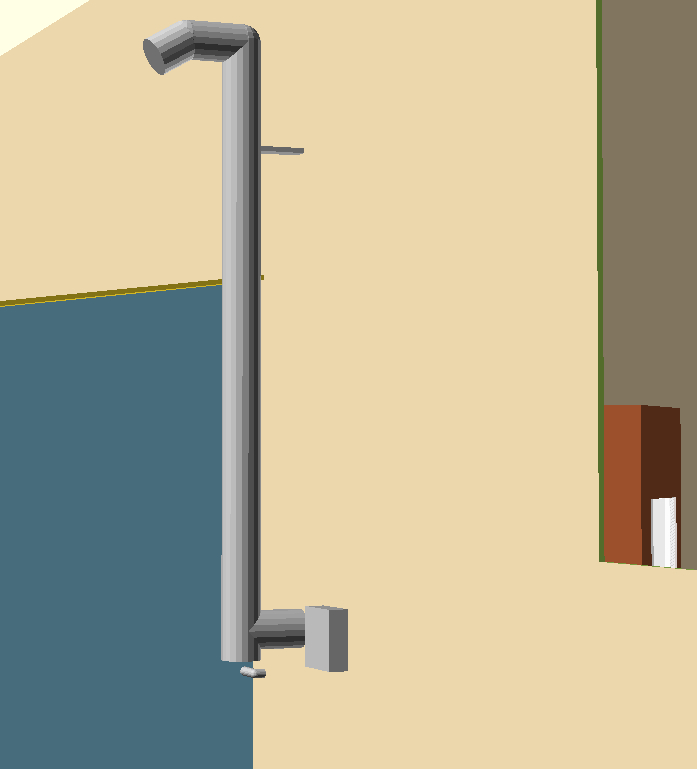
Notice at the top of the exterior stovepipe, the elbow and down-pointing end cap. This is to prevent rain or snow from entering the pipe. Most kits we examined had a grill over the outlet, as birds seem to like to build nests in protected openings. Included in most kits is a support for the vertical pipe, necessary if longer than about 5 feet. Also note the square cover over the fresh air intake pipe to prevent blowback, and also for wind, rain and snow protection.
So, to fuel the stove we require, obviously, pellets! Pellets work much better when they remain dry. This requires some sort of protected storage area. So, we would build a storage area, either for bagged or loose pellets in bulk.
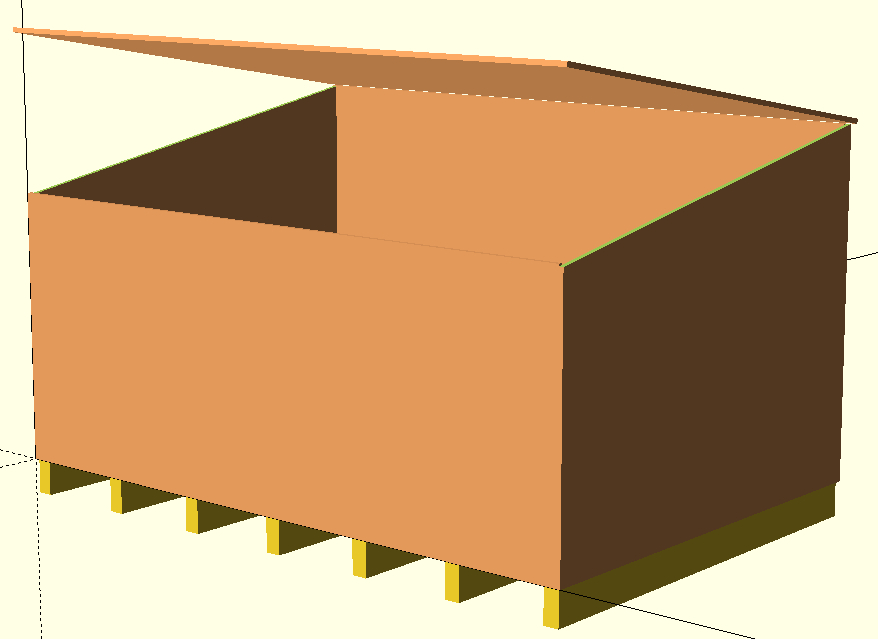
This particular design is about 4’ x 6’, more or less, and would hold quite a number of bags, or about 100 ft3 of loose pellets. As the whole project would be only as a backup, that would last quite a long while.
If we decide to go forward with this, it would be a summer project, as the winter weather in the mountains is not exactly the best time for outside work. So, sometime in the near future, you may see more of this project, if we decide to trip the trigger, as one saying goes.
Until next time, God Bless!
Footnotes
British thermal units.↩︎