New Storage Shed
Having (finally) decided to do what we have been planning for over four years, we are (Lord Willing) moving up to the ranch. We started packing things but soon realized we had limited space to store things without severely impinging on current operational capability (i.e., workshop functioning as a workshop). So, we decided we needed to expand the storage at the ranch so we can take some of the already packed boxes up there and get them out of the way here.
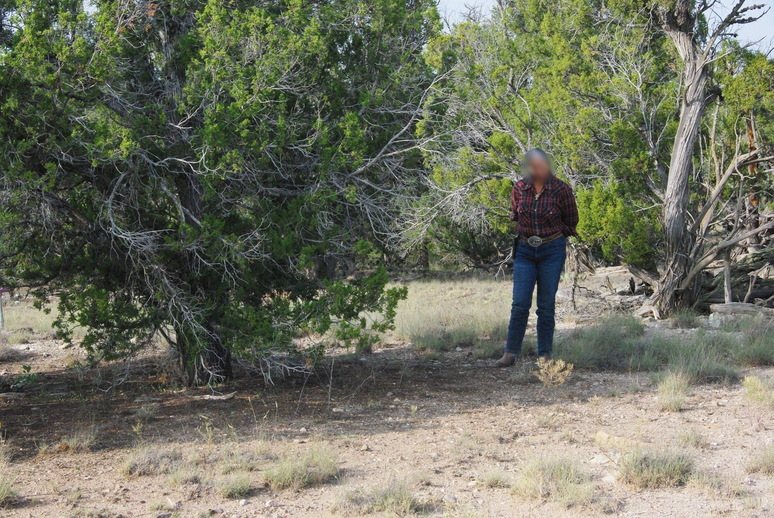
First, we had to decide on where we wanted the building to be located. It needed to be where it would be useful in the future when no longer needed as storage. So, we placed it where it would be close to the new home location and be positioned so as to be handy for tools, etc. Also we didn’t wish to block any of the beautiful scenery we wanted to see from the front or rear porches. We were able to find a location that fit the bill by placing it where any view was blocked by trees already.
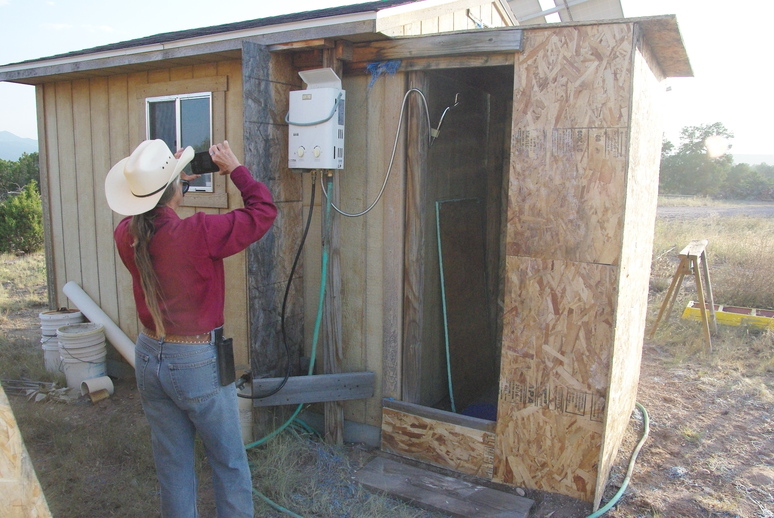
However, before we started on the shed, we realized there was a more pressing problem that needed to be fixed. Shower Facilities! The old shower was built with what materials we had on hand at that time, which were tarps and lumber scraps. That had deteriorated over the years into a totally useless structure.
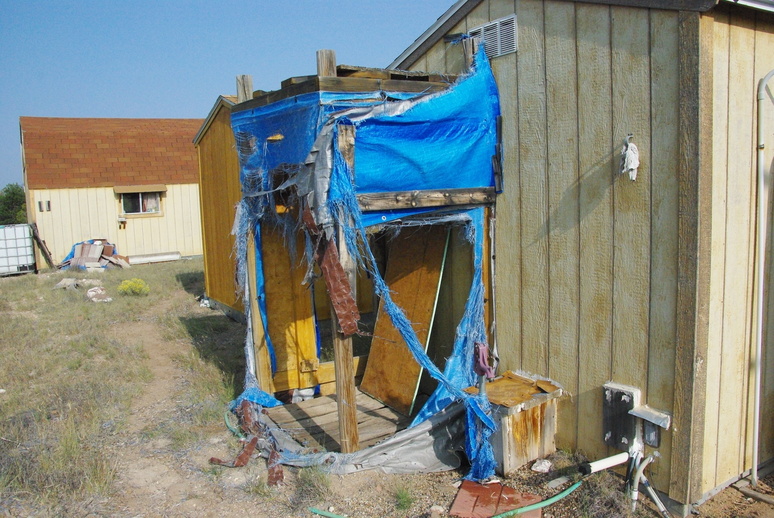
The old shower had worked for many years when we were going up to build things on a regular basis, but fell into disuse when the major projects were completed. And, as things will happen, the weather and sun took a toll on the canvas, and the end result was what is seen above. So we took a couple of days to remove the old canvas and install more durable material that was (again) already there. This proved to be old OSB sheets that had been mostly ruined by the years but was still usable as a fix for the (still temporary) broken shower enclosure.
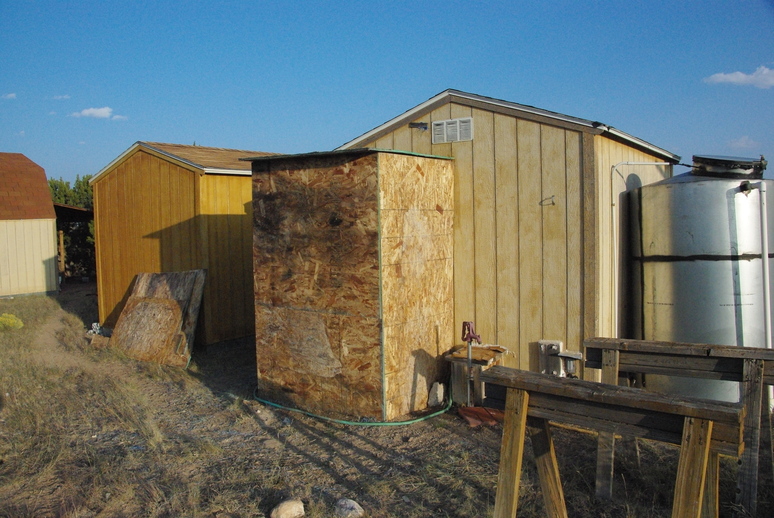
Now, we have a working shower enclosure to keep us out of the breeze when we need to clean up! For using old materials no longer usable for other projects, it will be more than sufficient for this purpose. The only piece we saved from the old structure was the door, as seen inside the enclosure below. Also shown in the center of the frame is the propane heater that gives a most wonderful HOT experience! Of course, it’s adjustable too!
Now on to the main business of shed building. Every structure has to start somewhere, so we came up with the materials we knew were not available, mainly corrugated sheets and concrete. On a previous trip we noticed there were enough ‘decorative timbers’ available for the uprights and most likely enough lumber that could be used to frame the building. That was a bit iffy, but as it turned out, enough was found of various pieces still usable to complete the framework, but not enough for the floor.
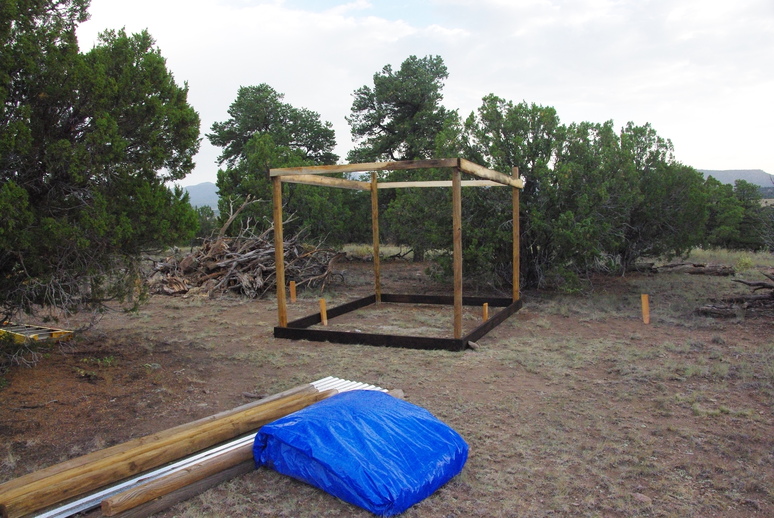
The bottom 2x6 boards we coated with a mixture of tar and diesel to protect from rot and critter chewing. We wanted to make the entire frame from 2x6s but couldn’t find sufficient good boards to do that, so we managed to scrape up barely enough good 2x4s to do. The stakes seen were leftovers from the supports used to hold the uprights from moving while the concrete set.
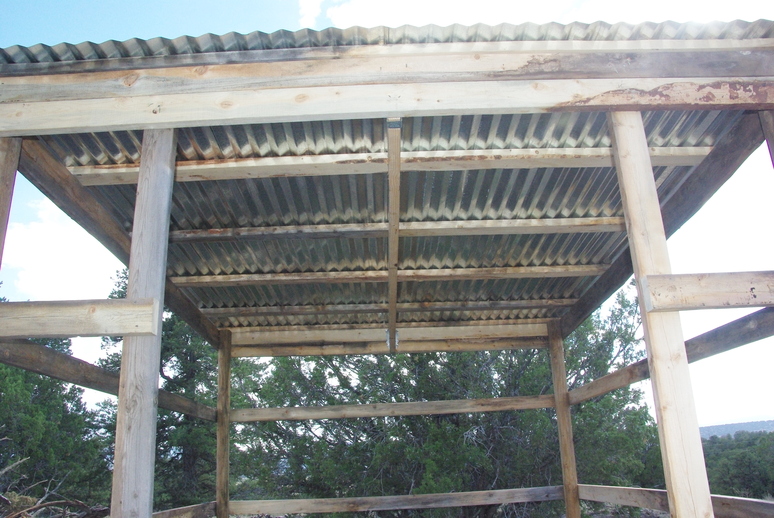
For the front and rear roof supports, we used doubled 2x4s for added snowload capacity, if enough moisture happened to fall in the winter. We found a 2x8 that was used as the center support for the tin roofing 2x4s.
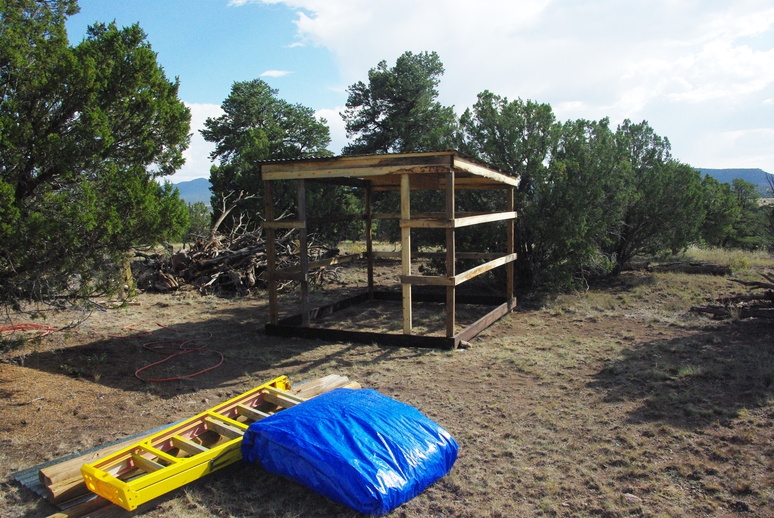
After the roof panels were screwed on, we could start on the walls. Each panel had to be custom cut to fit the height of the roof. That took a while, but was better as we cut them a bit longer than necessary so they could be buried below ground to (hopefully) prevent all but the most determined critter from digging under, looking for a nest. Lord Willing, that should work as the ground is very rocky in that particular area and difficult to excavate. We had quite the time digging the holes for the uprights and it was quite a struggle with a pick, shovel and posthole digger on the pointy end of the effort.
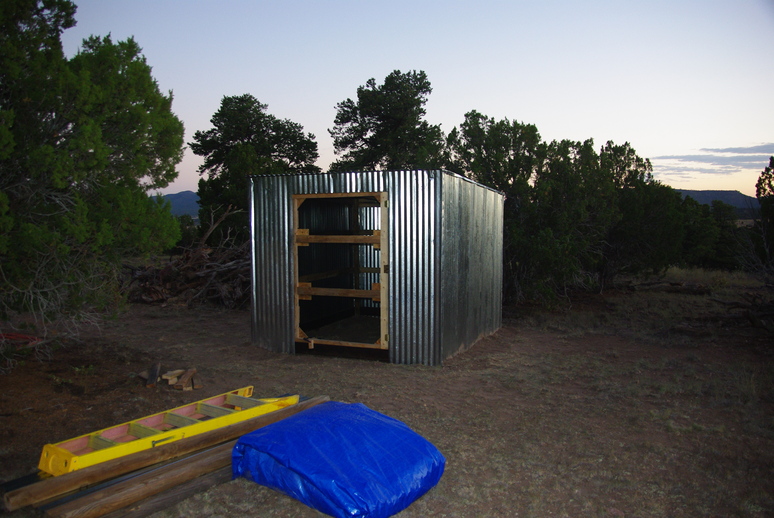
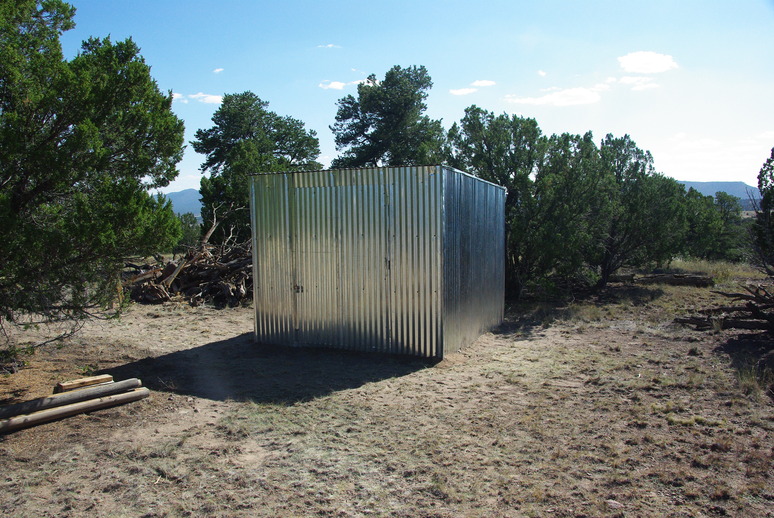
However, by late on the fifth day, we managed to get the walls completed. Barely enough time to snap a quick photo to show the progress, but it still came out okay. It took another day to finish the door as it had to be built in place which we had not attempted before, except on the workshop where we currently reside. It worked out surprisingly well and allowed us to get a really good fit. The door itself is four feet wide, which should allow ingress or egress of anything we wanted to store there. The tin was fairly easy to install on the completed door frame. The only dicey part was getting the corrugations to match with the top and bottom pieces on the front wall.
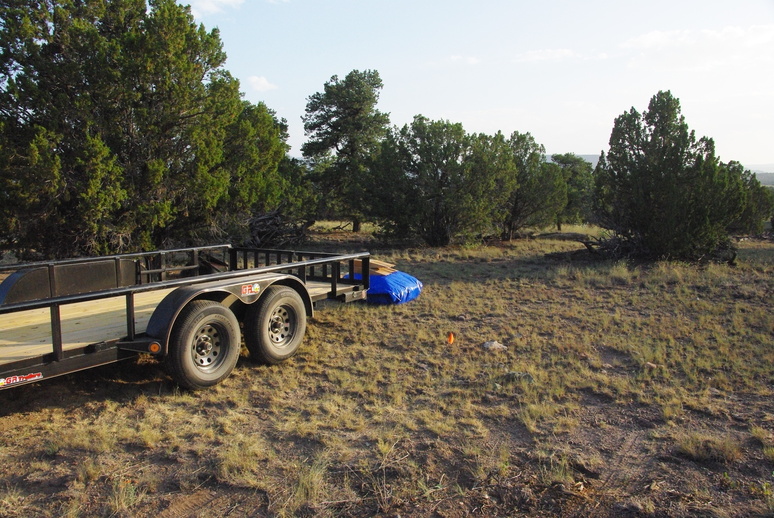
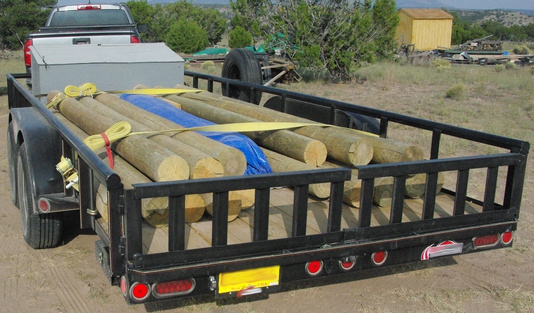
To date, this was the heaviest load on the trailer we have taken to the ranch (about two tons). However, it included not only materials for the storage shed but also building materials for future projects that will be needed, such as a new workshop, front and back porches for the house, and possibly a barn for horses or mules. We had the poles already for a barn, but because we did decide to finally move for real, we shelved the horse barn project at the current residence and will (Lord Willing) build at the ranch instead.
Stay tuned as we plan another trip soon to complete the floor for the shed. We couldn’t find enough good lumber to complete the shed and will bring the balance with us. So, until next post, See ya! May the Lord Jesus Bless and guide us in this effort, and may He keep you and yours safe during this difficult year. Bye!