A Big Shed
We have started a new project. We need a big shed to house the tractor and implements. Plus it may accommodate a room for hay, if we ever decide to get horses. However, the horse part will depend on the Lord. If He wants us to have horses, He will supply the means!
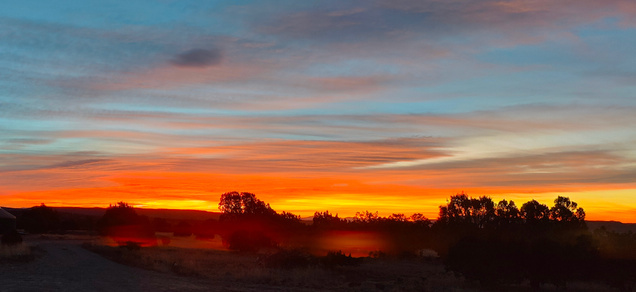
By the way, the header image is very interesting, so I will repeat it here. God gives such wonderful scenery that varies from day to day, so we never tire of the beautiful views!

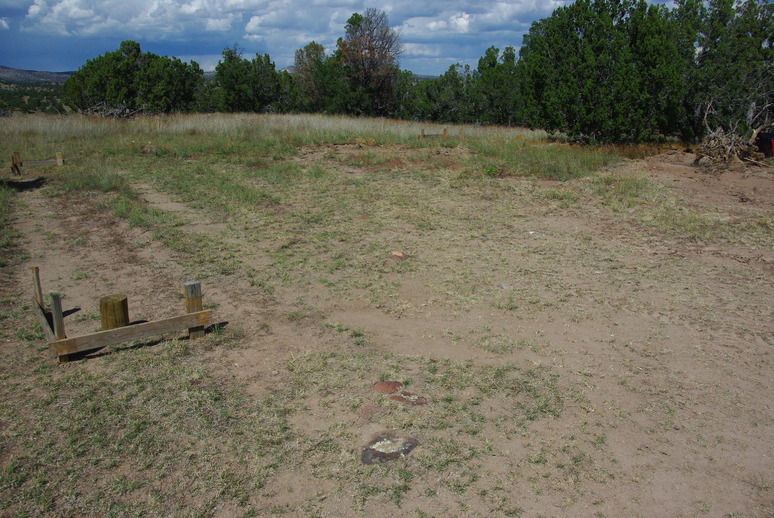
Anyway, as with any project, the layout has to come first. In this case, we are planning on a 32x32 ft pole barn. So, we installed batter boards to run strings to mark the corners, as the survey pins will be removed when we dig the holes for the 12 foot poles. To ensure the best accuracy, we used the Sokkia TM-1 Theodolite for layout of all critical points, namely all the corners and extra transit markers well out of the construction area to reestablish the sight lines to align the tops of the poles.
The batter boards will have strings to mark the outside of the poles, but to align the tops with the bottoms, we need the extra transit points, as none of the poles are exactly straight. Without the ability to align the tops, they could be several inches out of line. We are using two transits to speed up the work, one for each direction. For one direction, we used the Pentax TH10 Theodolite, the other the Lietz/Sokkisha TM20C Theodolite, both shown in this post.
We have nine poles we will use, spaced about 16 feet apart, in the ground about 18 inches. The frost/freeze depth here at our altitude is about that, so we want the pole base below the freeze line to prevent frost heave. We are thinking of a tractor-mounted post hole auger to dig the holes to save a lot of back-breaking labor, as the soil contains many rocks! So, we borrowed the neighbor’s hydraulic powered auger, and that made short work of the initial holes!
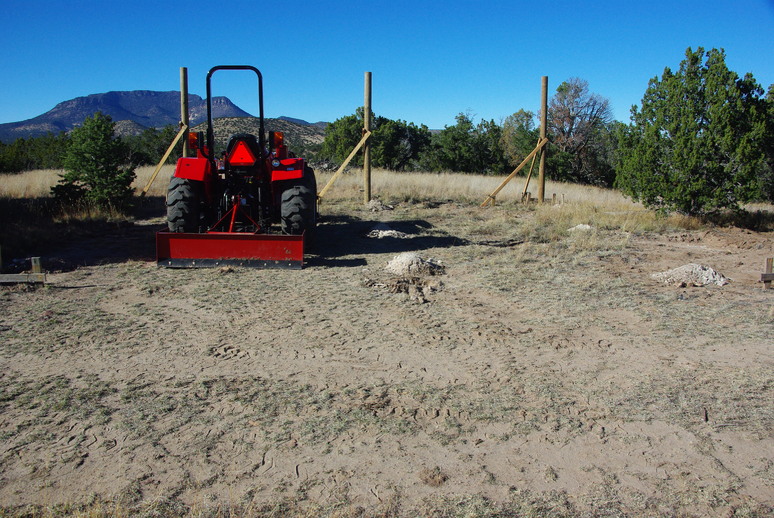
After cleaning the dirt out of the nine holes, we used the tractor to set the first three poles into the holes and install temporary bracing until we can align them properly. After that, we will pour concrete to hold the poles in position.
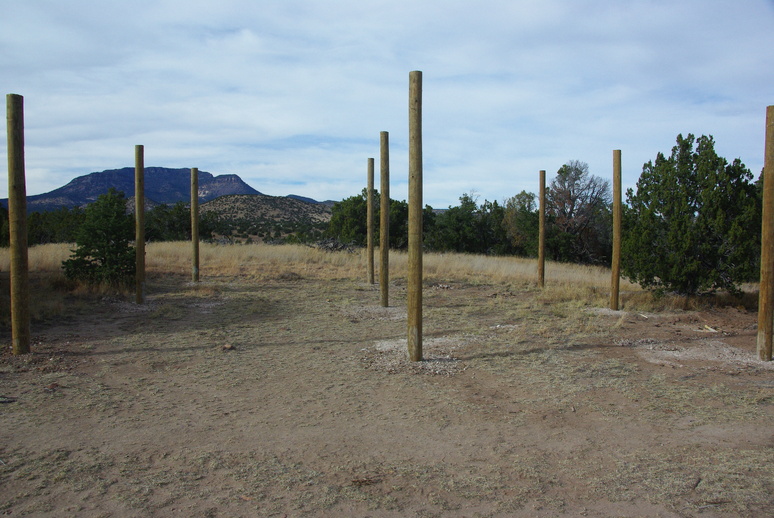
After setting all the poles, pouring concrete and cleaning up the mess, we have all nine poles in position, ready for the next step. And the next step was finding the shortest pole. To do that, we set up another transit, this time the Sokkisha DT5A Digital Theodolite. First, we leveled the transit and set a mark on all poles at the same level. Then, by measuring from the mark to the top of each center pole to find the shortest, we marked the other center poles to the same height to establish the building ridge line. The outside poles on each side were then marked a foot shorter for the roof slope. The tractor scoop bucket was very helpful as a platform in cutting the poles, as the tallest ladder was a bit short to reach the tops and attempt to safely cut the poles with a chainsaw. I prefer my appendages attached to my body, thank you very much! Safety First!
Next, we will acquire the roof beams/rafter lumber. All the lumber except the furring strips for the tin will be 2” x 6” treated boards, 16 feet in length. These will be mounted with StrongTie brackets and screws for wind resistance.
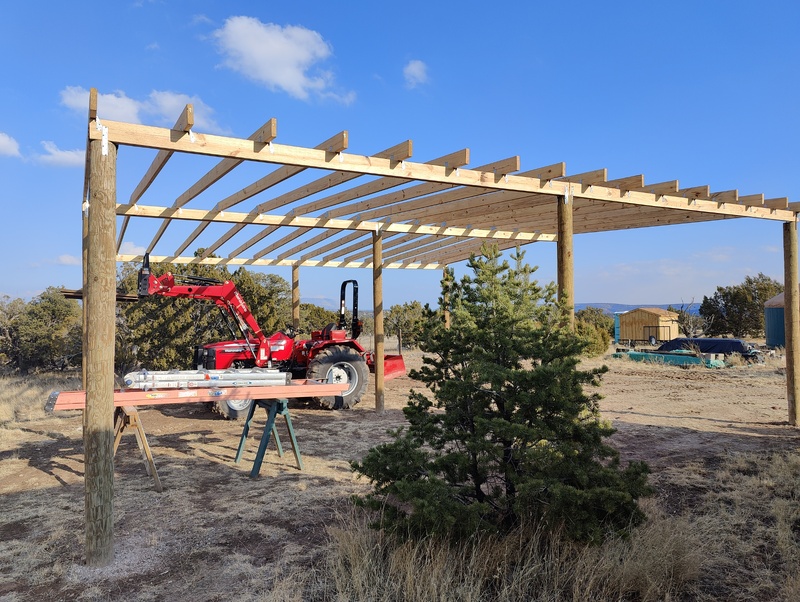
So now, the rafters are in place. The next steps will be to acquire the tin roofing. But first, we will lay the furring strips across the rafters with glue and screws to screw the corrugated roofing down. That should provide a sturdy, wind-resistant roof!
Of course, every day God shows new and different eye candy. We can always enjoy His beautiful creation all around us!
Before we do the tin, we will have to cut all the rafter ends shorter to allow some overlap for the tin. To be continued…